When you realize that you need inventory moved between two of your store locations, the first step is to create a transfer request.
Navigate to the Receiving main feature page.

Once the page opens, click the red Receive button near the top and select Transfer.
The first thing you need to do is add items to the queue that you want to be transferred. For more information on adding items to a queue see the article here. After your items have been added, there are two main sections to enter information:
Update Item Information
You may need to adjust the quantity, cost, or total cost of items that are being requested. Note that in a transfer request, all of the totals will be negative numbers because the inventory cost is being removed from the other location.
Select Transfer Locations
Either to the right of the item list or below the item list, you will see a section where you can add the locations the inventory is moving between.
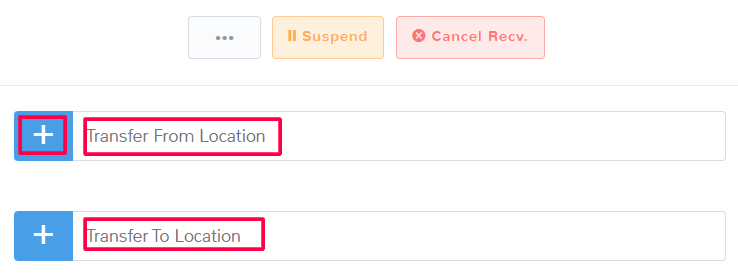
Start to type and matching locations will populate in the dropdown to select. The Transfer From Location is the store where you currently have the items that are about to be shipped out. The Transfer To Location is the location that needs the items and will be receiving them at the end of the transfer.
If you need to add a new location you can select the + button next to either location field. You will be prompted to purchase a new license before creating a new location – more information can be found about that here.
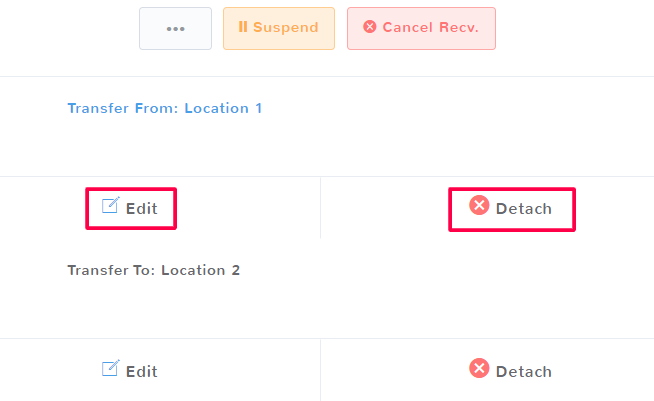
If you’ve made a mistake you can either Edit a selected location or Detach it from the transfer.
There are a couple of other additional fields that you will see on the transfer request page when creating it or going back to edit it:
Change Receiving Date
By default, the date assigned to a transfer request and all receivings will be when they are submitted. If a different date needs to be selected, click the checkbox and then enter the correct date. See the documentation here for more information about the clock and calendar feature.
Comments
The comment field allows you to make notes on a receiving. These comments will be viewable to you as well as the location you are making the request to.
Custom Fields
You have the option of adding new fields for information your business may need to record with your receivings. More information about receivings custom fields can be found here.
You have two options at the end of creating your transfer request:
Send Transfer Request
When you choose to send a transfer request, you are effectively suspending a receiving.
This means that there is inventory that is going to be moved and received at a location, but it is not there yet. It is important to note that the inventory at both locations has not yet changed. In order to change the inventory levels, the transfer request must be completed.
Complete Transfer
Selecting this option updates the inventory for both locations and removes the transfer request from the queues. This means you can no longer view the transfer requests, caution should be used when completing a transfer.
When you’ve finished you will be brought to the receivings receipt. For more information on receivings receipts see the documentation here.


