Introduction #
Item Attributes help you keep track of things like color and size variations in your products for inventory and sales. Creating an item attribute is a two-step process:
- Create an attribute, which is a label for a feature that can differ in an item. For example, the size of an item is an attribute that can change.
- Create the variations or all the different possible values of an attribute. For example, small, medium, and large, would all be variations of a size attribute.
With attributes and variations, you can fine-tune your inventory, add custom pricing, and run accurate reports to help when making purchase orders for your store.
There are two kinds of attributes, global and custom.
Global Attributes that can be reused for multiple items. Shirt size is the kind of attribute you will likely want to use on all the different kinds of shirts you sell in your store and should be a global attribute.
The other type of attribute is a Custom Attribute. You can only make a custom attribute within a specific item, and the attribute will not be available as an option for other items. Both are explained in this article.
Creating and Managing Global Attributes #
A global attribute is one that can be used in any item of your store and can be edited in a single centralized place.
Create a Global Attribute #
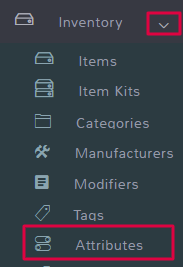
To create a global attribute, navigate to Inventory in the left menu and select Attributes.

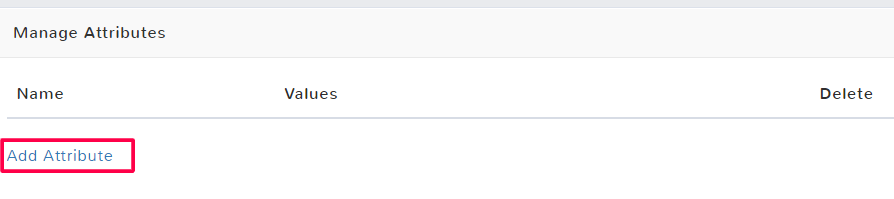
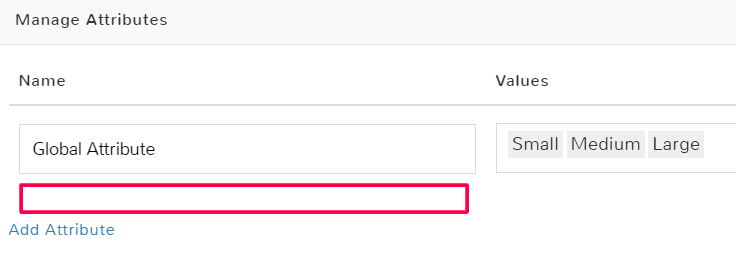
Once the page opens, you’ll see the option to Add Attribute. You’ll need to fill out the following information:
Name
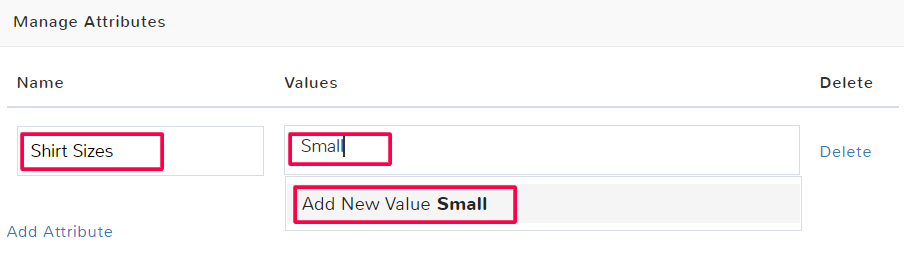
This will be how the attribute and its values will appear as an option when you add it to an item. Pick a name that is memorable for what you need it for, such as Shirt Size.
Values
This is where you enter the different options of the attribute. For example, for an attribute named Shirt Size, the values would be: Small, Medium, and Large.
To create a value, type the name you want to be entered. You can either hit the Tab key or click the dropdown option to add the value.
You can add as many values as you need for an attribute. Entering values will make it faster to complete adding variations when applying an attribute to an item – it will allow you to Auto-create variations.
When you’re finished creating attributes, click Save.
Edit a Global Attribute #
To edit a global attribute, navigate to Inventory in the left menu and select Attributes.

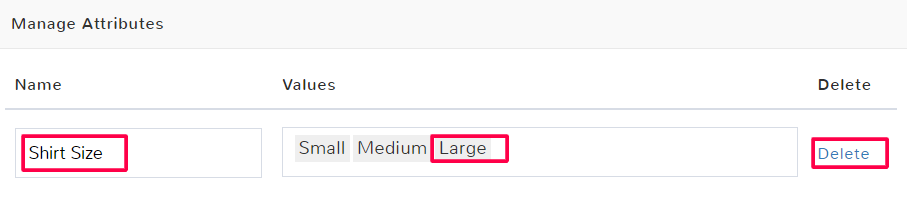
Once on the Manage Attributes page, you can change the name and values.
Make sure to Save any changes before closing out.
Note: When you edit a global attribute, it does not automatically change any of the items that had already been assigned that attribute previously. In the same vein, adding a new value does not automatically update all of the items with that global attribute with the new value.
Deleting a Global Attribute #
To delete a global attribute, navigate to Inventory in the left menu and select Attributes.
Once on the Attributes page, you can click Delete on the row of the attribute you wish to remove.

Note: If you delete a global attribute, the variations assigned to it will still be present in any items you had previously assigned the attribute to and will need to be removed individually.
Selecting a Global Attribute #
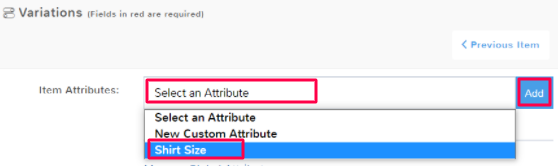
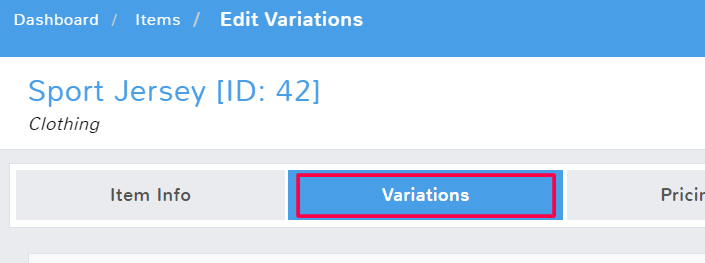
When creating or editing items you can adjust a global attribute on the Variations Tab. Scroll to the Variations section.

Click the Item Attributes field to see a dropdown of the global attributes you have created. Pick the desired attribute from the list and click Add.
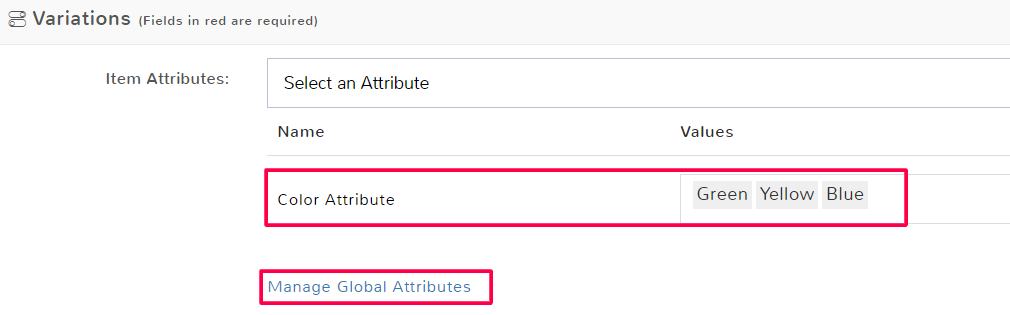
If you need to make a new attribute, and want it to become a global attribute, click Manage Global Attributes.

You will be brought to where you can Create and Manage Global Attributes.
Once you have selected the attribute, you’re halfway done. Now you need to create the item variations.
If you selected the wrong attribute, simply click Delete in the applicable row, it will remove the attribute and any associated variations you created from that item.
Creating and Managing Custom Attributes #
You may not always want or need the attributes you make to be available for all items. There may be an item with a special attribute that applies to it. In this case, you should create a custom attribute. A custom attribute can only be seen and worked with inside the item it was created. You can not reuse it for another item without manually creating an identical one. To create or edit a custom attribute you have to open up the individual item and manage it.
For example, Color Attribute is a custom attribute you can make within the Basic T-Shirt item. If you click Manage Global Attributes you will not see Color Attribute in the list. If you go into another item, such as Basic Shoes, you will not be able to select Color Attribute from the dropdown of Item Attributes.
Create a Custom Attribute #
When creating or editing items you can create a custom attribute on the Variations tab.
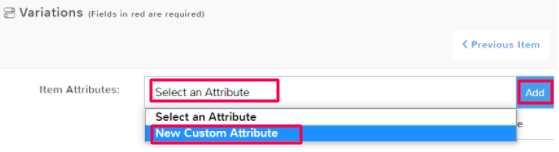
Scroll to the Variations section. Click the Item Attributes field to see a dropdown where you can select New Custom Attribute. Click Add.
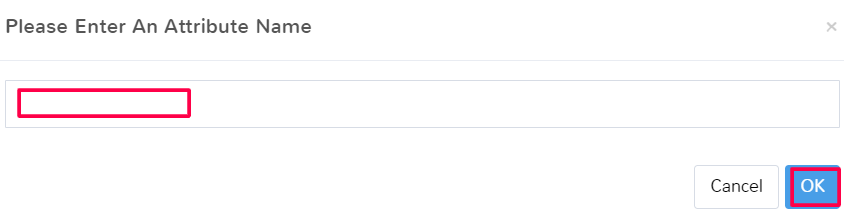
You will be prompted to enter a name for the attribute. Pick something that will identify what variations you intend to apply so you remember later.
This will create a new row under Item Attributes where you can enter the Values for the attribute, just like you can for global attributes. To create a value, type the name you want to be entered. You can either hit the Tab key or click the dropdown option to add the value.
Entering values will make it faster to complete adding variations – it will allow you to Auto-create variations.
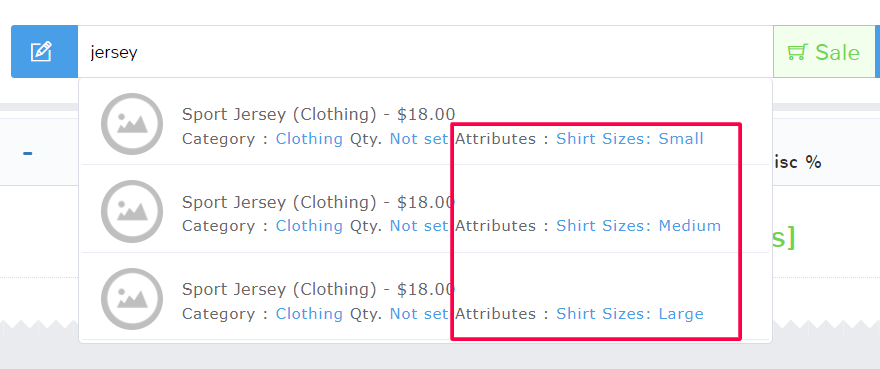
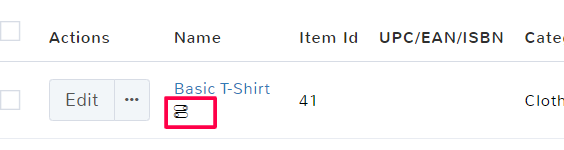
On the main Item Feature page, any item with an Attribute (global or custom) will have a stacked icon under its name.
If you no longer want the custom attribute, simply click Delete in the applicable row, it will remove the attribute and any associated variations you created from that item.
Understanding Item Variations #
Once you have created your attributes and selected them for your item, you need to add the variations of that attribute that you offer. Most of the time you add variations, it’s all of the values you offered as available for an attribute.
You can manually add individual variations, or you can auto-create variations.
The following fields need to be filled out for all variations:
Name
This is how the variation will be identified when making a sale, so pick something that will make it easy to understand the item variation that they’re purchasing. For example, Green T-Shirt is a good name.
Attributes
This is where you identify the applicable Attribute and Value you want the name to signify. For example, Color Attribute: Green would mean you’re selecting the attribute color and the value of green for the variation.
Item Number
You can add an item number to provide a shortcut to apply an item with a specific variation to a sale. For example, instead of having to type out Men’s Baseball Jersey Size Small, a cashier could simply enter the item number 45 to have the correct size jersey pop up.
When you create an item number for a variation, click Add New in the dropdown below to have the number saved and applied.
Multiple Item Numbers #
If you want to have more than one item number, you can continue to create new item numbers for a variation, and by clicking Add New, they will all apply. You can also forgo using item numbers, they are not required for variations.
Is Ecommerce Item
By default, the program all variations of an item are also sold on any associated eCommerce platform. If that is not the case, replace Yes with No.
Variation ID
This is assigned by the program to keep track of variations. The variation ID prints along with the item ID on the barcodes generated for the item that will help you with checkout and with inventory.
Manually Adding a Variation #
Open the item Variations tab and scroll down to the Item Variations grid.

Click Add Item Variation.
Fill out all the applicable fields.
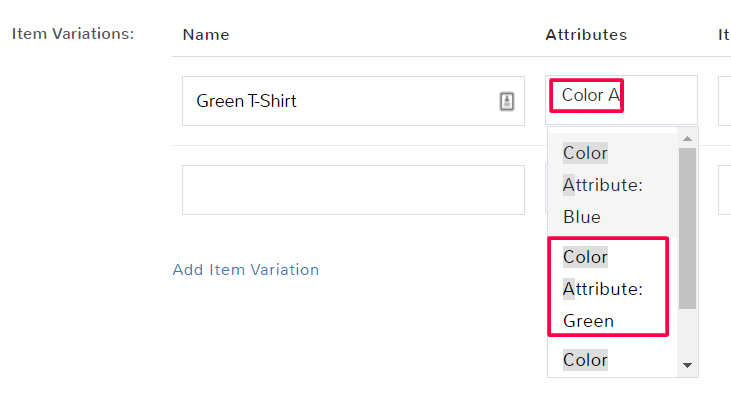
Attribute Field for Manual Variations #
To fill out the Attributes column of a manual variation, start typing the name of the applicable Attribute you selected. Below will offer a dropdown of matching Attributes and the values you assigned to it. Click to select the correct option.
Auto-create variations #
If you added values to your attributes, then the fastest way to get your variations done is to auto-create them.
Open the item Variations tab and scroll down to the Item Variations grid.
Click Auto-create variations.
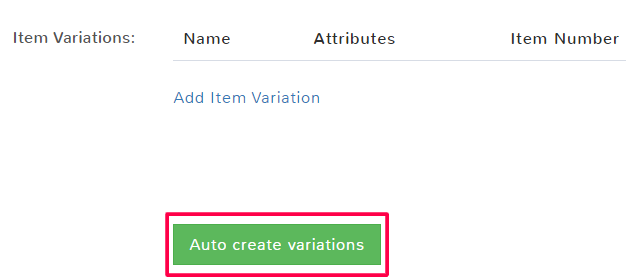
A popup will ask if you want to create variations for all given attributes, click OK.
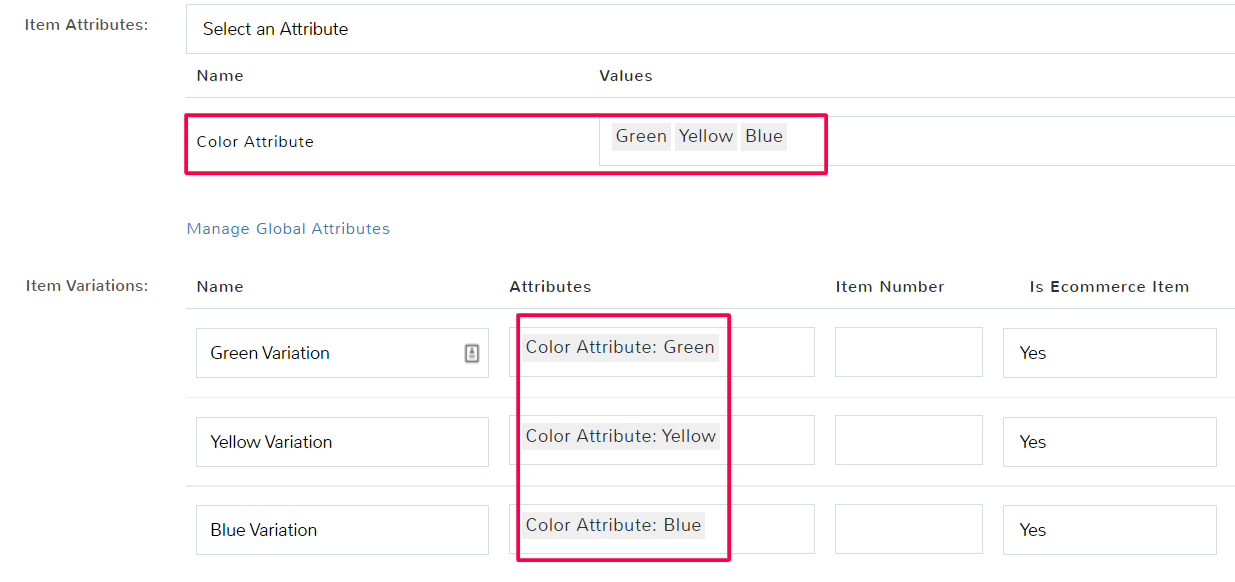
Each value, for each attribute you selected, will be made as a variation with an auto-assigned name.
Edit Variations #
Open the item Variations tab and scroll down to the Item Variations grid.

Click in any of the fields that you wish to edit and make your changes. If you want to delete a variation, simply click Delete in the applicable row.
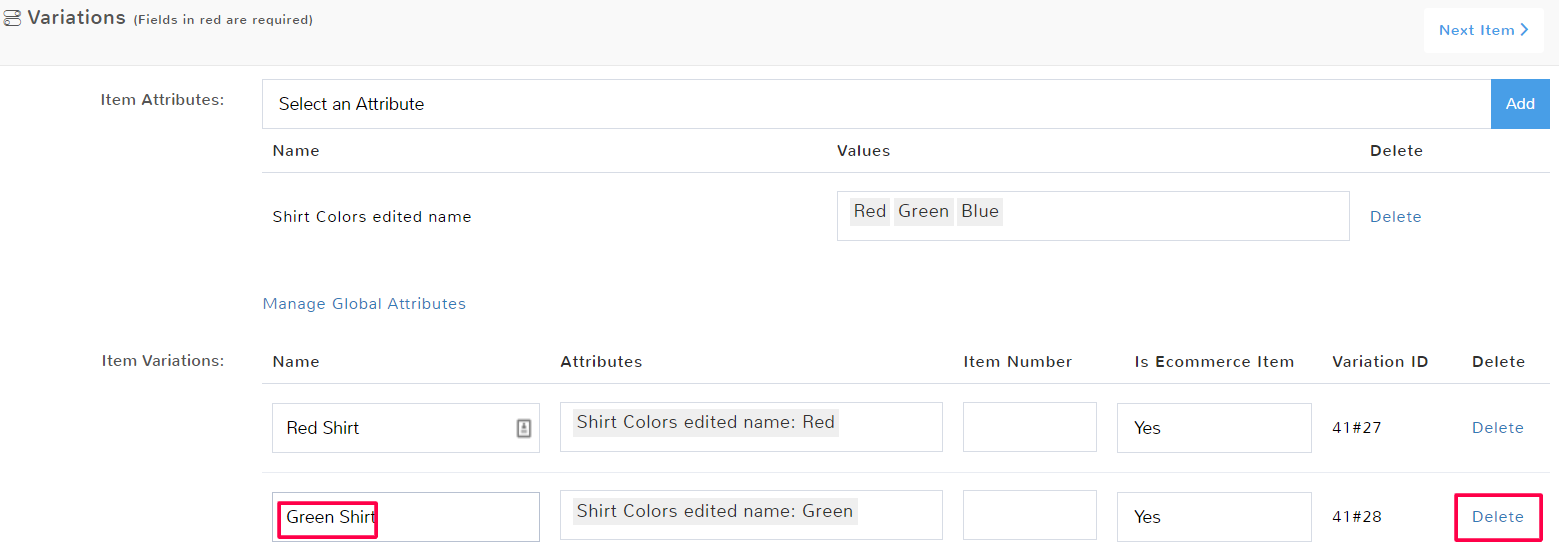
Make sure to Save when finished.
Individual Items #
Remember that changes you make to a global attribute, such as to its values only apply to the individual item you’re working on in the Variations tab. To make changes to the global attribute, you need to click to Manage Global Attributes.
Custom Pricing for Attribute Variations #
Once you create item attributes with variations, you have the option to create custom pricing for each of the variations.
When creating or editing an item with variations, navigate to the Pricing tab.
Scroll down and you will see a new grid to enter custom pricing.
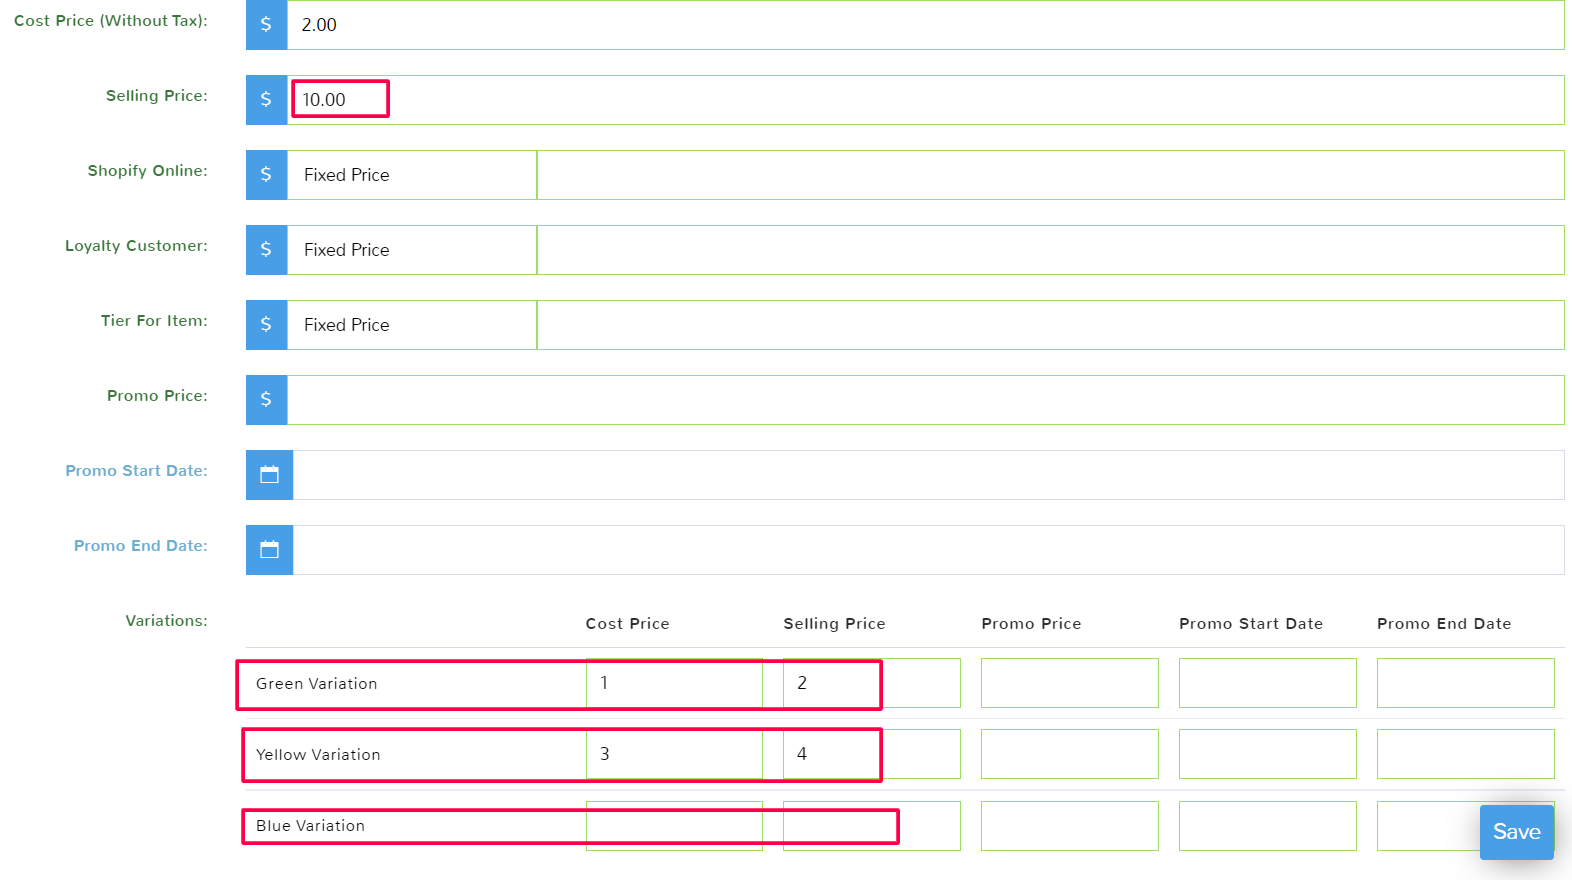
Once you Save your changes, the price of an item will change based on what variation a customer purchases.
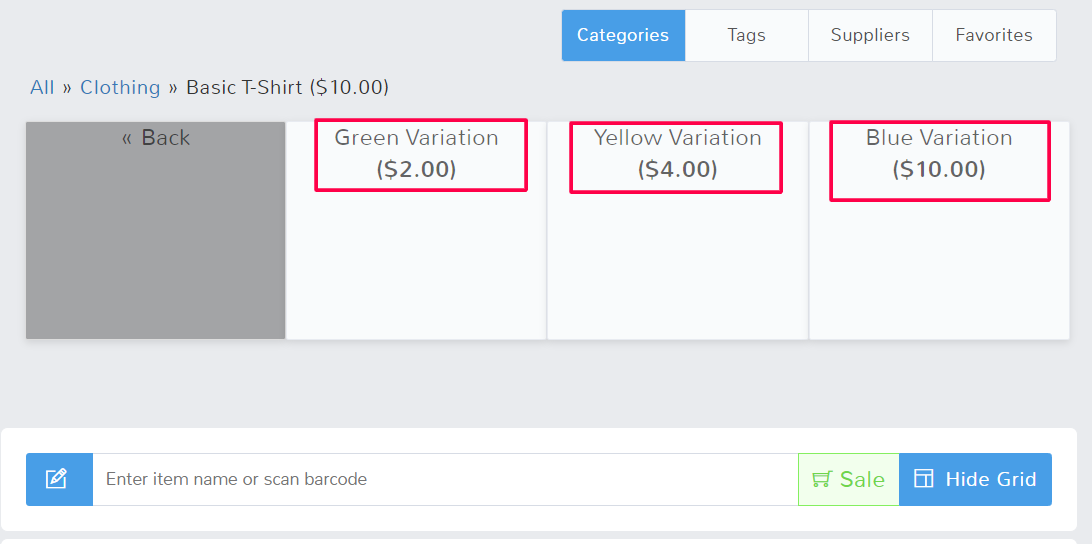
If you do not specify new prices for variations of an item, then each of the variations will default to the original item’s price.
Custom Inventory for Attribute Variations #
When you create attributes and variations, you have the option to track each variation’s inventory individually.
When creating or editing an item with variations, navigate to the Inventory tab.
Scroll down and you will see a new grid to enter custom inventory.
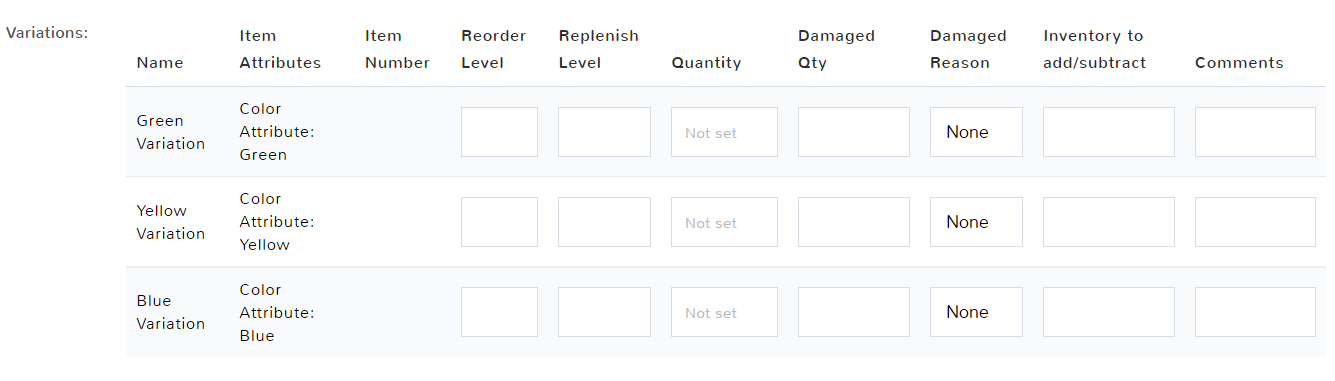
Once you Save your changes, the inventory of an item will change based on what variation a customer purchases.


