Item Categories #
Categories help you organize the items in your store for reports and to help you easily find items on the sales feature when putting together a customer’s orders. Categories should be broader themes that certain items fit under to be grouped together.
For example, if you are an electronics store you would have categories such as Phones, Tablets, and Laptops to help you separate your items out into different groups. This way if you’re having a sale on Tablets, you can easily search and bulk edit the items.
It is recommended that you set up the basic categories for your store before you start adding items by thinking about how they might be grouped together and organized. If you have a lot of inventory KPOS also offers subcategories to further organize your items.
If you have broad changes or updates that need to happen to a group of items, having them properly categorized will allow you to search by category and apply a bulk edit, saving you time.
Creating and Managing Categories #
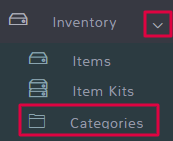
To start creating Categories, click Inventory in the left menu and then select the Categories feature.
You’ll see several options on the Categories page.
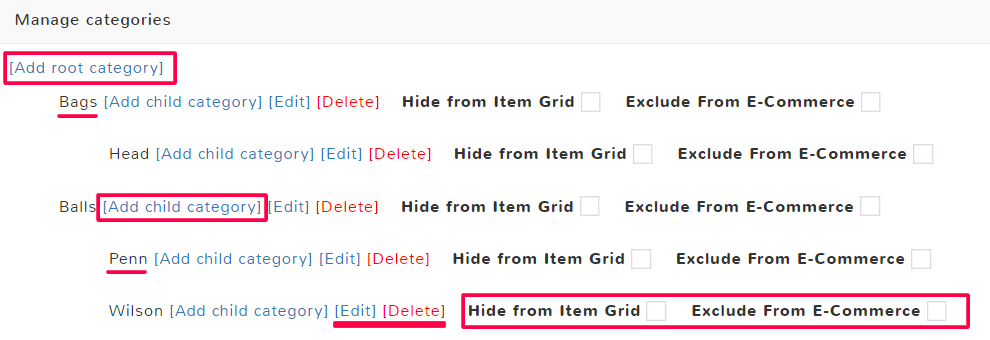
Add root category
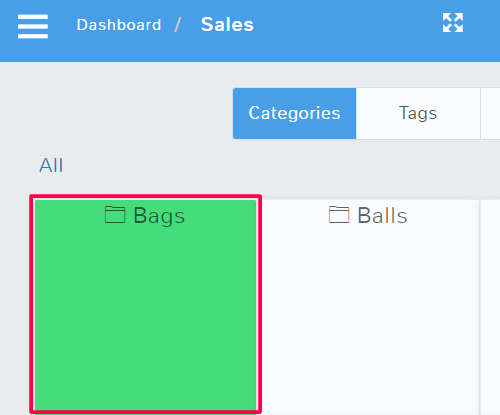
Adding a root category is to create a first level group of items. In the example above, Bags would be a root category, when looking at Categories in Sales, you will see the option for Bags.
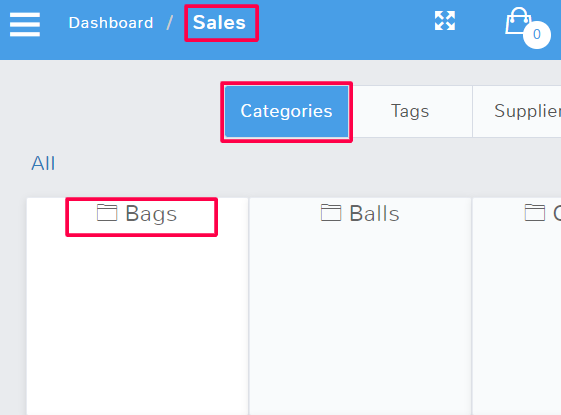
If you click on Bags, you will then see the items marked as that category or any child categories.
For more information on filling out the category information, see the Category Fields below.
Add child category
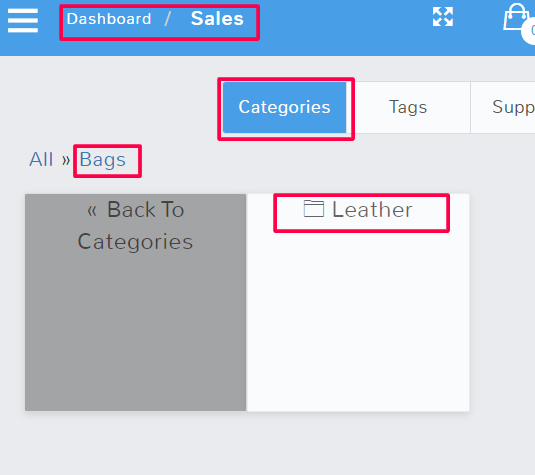
A child category is a group of items that is a subsection of the root category. For example, the root category of Winter Clothing might have child categories such as Gloves, Hats, and Scarves. You can search by a child category to find an item, or click through on the grid view in Sales to find it under the root category.
For example, you can see the child category Leather in Sales after clicking the Bags category.
The information needed to add a child category is the same as for a root category, see the Category Fields below for more information.
Edit
If you need to edit a root or child category, simply click Edit next to its name and make the appropriate changes, see the Category Fields below for more information. Make sure to hit Save before closing.
Delete
If you delete a category it cannot be undone, the category will be removed from all items it was previously attached to.
Hide from Item Grid
Selecting this will make it so that this category does not show up on the Sales feature page when looking through the category grid.
Exclude From E-Commerce
Selecting this will keep the category from exporting to WooCommerce or Shopify as a product category.
Categories and Ecommerce #
To understand how categories translate to eCommerce such as WooCommerce and Shopify, see their respective articles.
Category Fields #
Whenever you go to create or edit a category, you will see the Category Fields popup. When making changes be sure to always Save at the end.
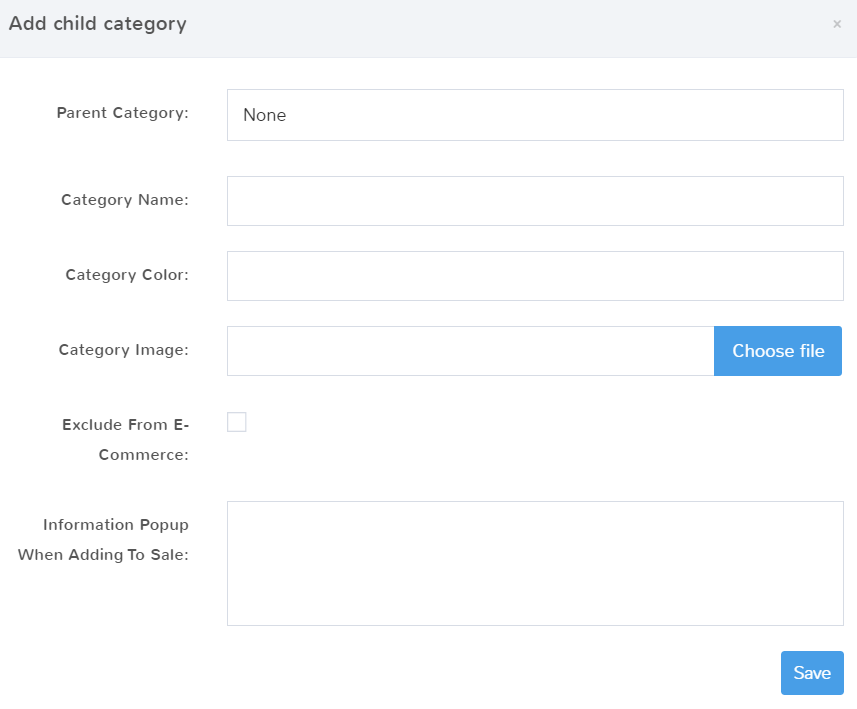
Parent Category
If you are creating a Root Category, one of the highest levels of organization for items, then you can leave the selection to None. This means the category you’re creating stands on its own and is not meant to be a child category of another section. For example, Bags in the picture below is shown on the sales screen as a root category, that has no parent.

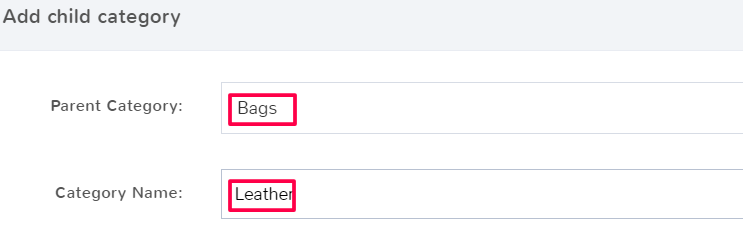
If you’re adding a child category, for example, you want to create the category “Leather” under the broader grouping of “Bags”, then you would select the Parent Category of Bags in the dropdown.

Category Name
Here is where you enter the title of the category you are creating.
Category Color
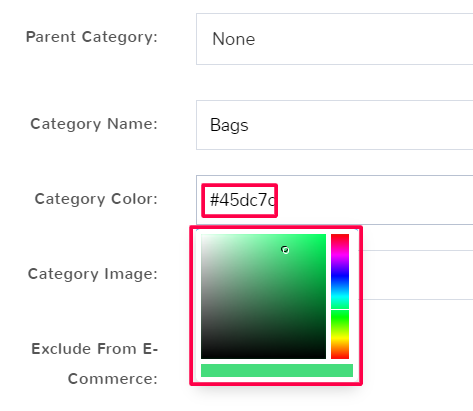
By default, on the Sales screen all of the category options display as white tiles. If you would like to assign different colors to the category name, you can do so here.
When you click you have the option to select a color from a grid that pops up below. You also have the ability to enter the hex code of a specific color.
Category Image
If you want to have a quick visual clue on the Sales screen when looking at categories, you can replace the default white tiles for categories with an image.
Select Choose File on the right. Upload a file from your computer. An Image Preview will appear below.
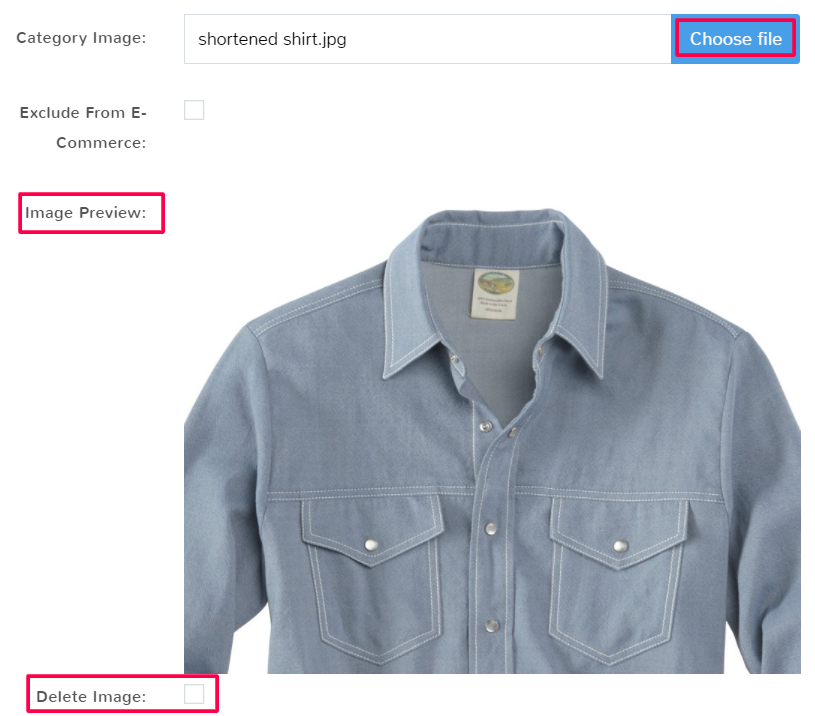
If you do not like the image, you can change the picture by selecting Choose file and uploading a new one. You can also just check the box to Delete Image.
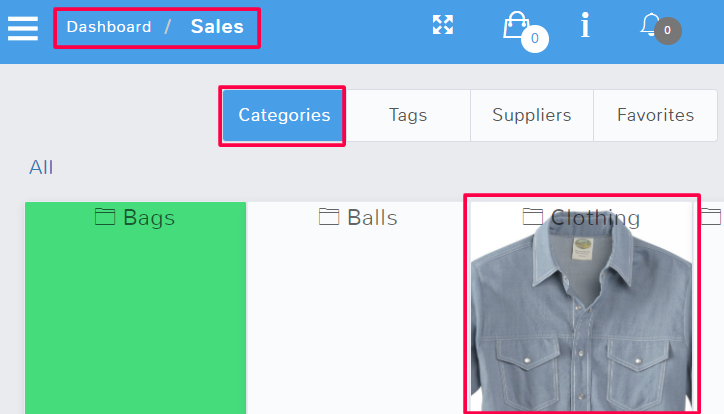
Once you have saved, you can see the new tile design in Sales.
Exclude From E-Commerce
Selecting this will keep the category from exporting to WooCommerce or Shopify as a product category.
Information Popup When Adding to Sale
This will make a notice with the information typed appear on the employee screen when a customer is going to purchase any item marked to be in that category. This is helpful if you need to remind an employee about any disclaimers they should provide, or special care that needs to go along with the items in that category.

Once you are done, always select Save.
Categories within Items Creation #
Selecting a Category #
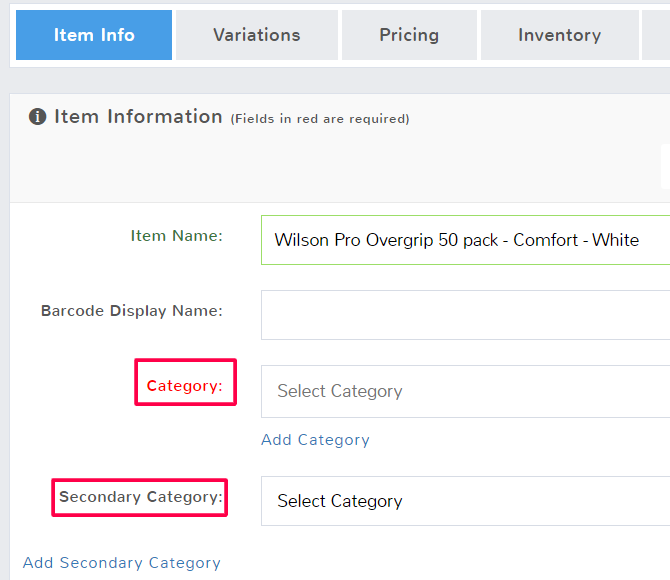
When creating or editing Items, you can adjust Categories on the Item Info Tab. It is required to have at least one category for each Item created.
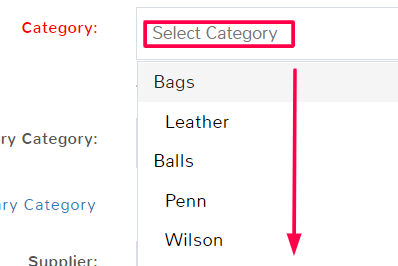
Clicking in the Category field will display a dropdown of all the Root Categories and Child Categories that have been made for your store. Root categories are flush to the left of the dropdown. Child Categories are indented to the right under the Root Categories. You can click to select one.
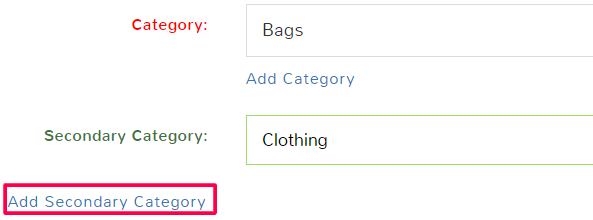
Selecting a Secondary Category #
You have the option to make an item part of more than one category. For example, maybe you want a purse to show up under the Categories of Bags and Clothing.
To add a secondary category, click in the field and select a category from the dropdown.
You can add multiple categories by clicking Add Secondary Category again and repeating the process above.
Creating New Categories within an Item Page #
If you realize you need a new category when creating or editing an item, you can quickly create one by selecting Add Category under the Item Information tab.
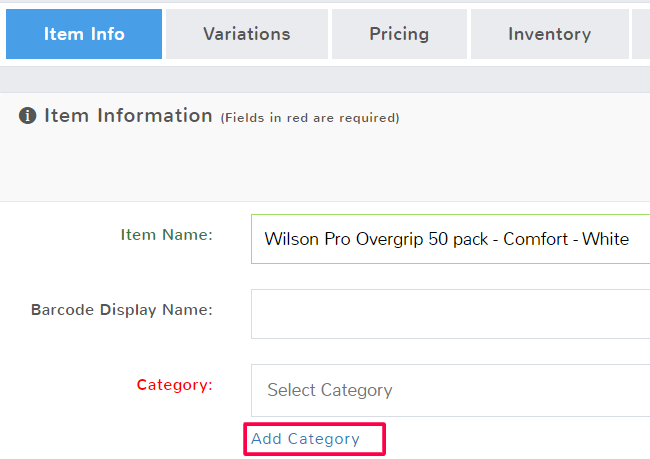
See Category Fields to understand the options. Make sure to Save any changes.


