Introduction #
Item Quantities are helpful if you sell items in groups or packs of a certain number. For example, you may sell individual bottles of water, but you may also bundle them together as a pack of 6. Item quantities will allow you to easily keep track of your inventory numbers and pricing for multiples of an item being sold.
Quantity Units are part of the different Variations you can have for products that include item attributes and modifiers. More information can be found about item attributes here and information about modifiers can be found here.
Adding Quantity Units to an Item #
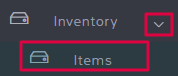
Navigate to Inventory in the left menu and select Items.
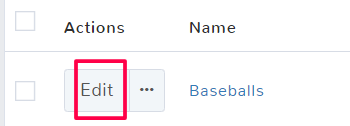
If you are creating a new item, see the article here for more information until you reach the Variations tab. If you are adding quantity units to an existing item, then locate the item in the list, and under Actions select Edit.
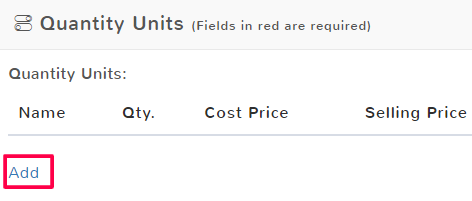
Click the Variations tab. The first option under variations is Quantity Units. To create a new quantity unit, click Add.
There are several fields to fill out for quantity units, detailed below:
Name
This will be how the quantity unit will show in a dropdown at sales, enter a name you will easily remember and that is somewhat descriptive. For example, “Ten Pack”, or “Case of 6.”
Quantity
This is how many of the items are part of the quantity unit. For example, you might choose to sell scarves in packs of 2.
Cost Price
This is the total cost of all the items that are part of the quantity pack. For example, if you make a quantity unit of 6 bottles of water, and each bottle cost you 50 cents, then the cost price would be 3 dollars.
Selling Price
This is how much a customer should pay when purchasing a quantity unit.
Item Number
Adding an item number creates a shortcut that you can search for that quantity unit of an item for.
You can add multiple quantity units for an item. For example, maybe you sell baseballs at your store. Customers can buy individual baseballs, or they can buy a pack of 3, 5, or 10 baseballs. You can continue to add as many quantity units as you want.
Make sure when you have finished, to select Save in the bottom right to keep your changes to your items.
Editing Quantity Units #
You can edit quantity units at any time. Navigate to Inventory in the left menu and select Items.

Locate the item you need to update and under the Actions column select Edit.
Click the Variations tab. Click inside any field that you need to change information for and the data can be immediately changed. There is also the option to Delete any quantity unit you no longer need at the far right of the row.
When you have finished your edits, select Save in the bottom right to keep your changes to your items.
Selecting Quantity Units During Sales #
When an item is sold in one of the established quantity units, the cashier will need to make the selection during check out.
First, they need to navigate to the Sales screen.

The item needs to be selected by entering the item name, scanning the barcode or selecting the item from the grid. For more information on adding items to sales, see the documentation here.
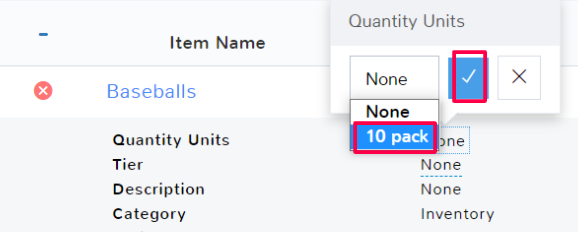
By default, the item will be added to the sale in its default quantity. Under the item, you will see a section called Quantity Units, it will have the value of None.
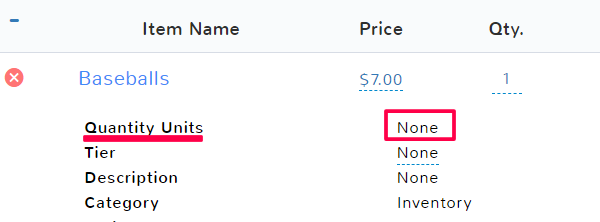
Click None. In the dropdown, click to see all the quantity units you’ve created for that item and select the relevant one. When finished click the checkmark to apply the quantity unit.