Item Tags #
Item tags are a useful way to mark items to be in specific groups. They are similar to categories but are meant for more granular and possibly temporary groups.
A good use case for a tag, instead of a category, might be a sales promotion. Say you own a clothing store, and there are certain items that you get from your distributor at an extra discount because of your order volume – red baseball hats and blue purses you get at cost. You know that whenever you run a promotion, these are two items that you want to be able to cut the prices on. So when you create the items you mark them with the tag Promotion Product so that you can easily find them later.
Red baseball hats and blue purses won’t fall in the same category, one is in the Hat category, the other Women’s Accessories, but if you search for the Promotion Product tag, you can have both show-up and bulk edit their pricing. You can also create a pricing rule, specifically for the Promotion Product tag! Now you don’t have to remember and click through every individual item the promotion applies to.
In This Article: #
Creating and Managing Item Tags #
Item tags are useful for searching for items as well as for detailed reports on trends in your business. Tags can also help you find items quickly on the sales screen when searching for the items a customer wants to purchase.
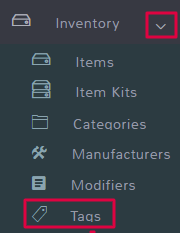
To create and manage item tags, click Inventory in the left menu and select Tags.
This opens up the main feature page for tags. There are several things you can do for tags:
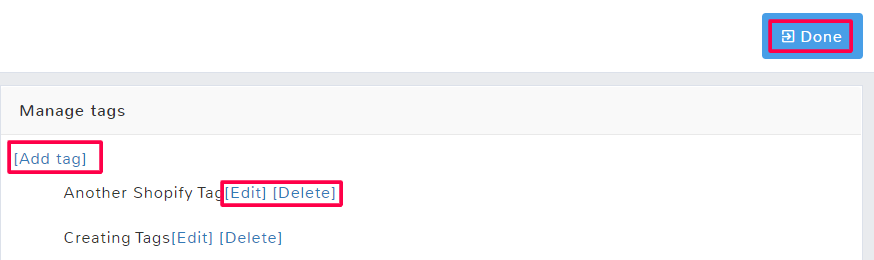
Add tag
This allows you to create a new tag to use for items. It will bring up a popup for you to name your new tag.

Once you have typed the tag name, simply hit OK and it will be one of your new tag choices going forward.
Edit
Selecting edit allows you to change the name of your tag. If you change the name, it will automatically update the tag on any of the items that had already been assigned to it.
Delete
Clicking delete will remove a tag. Any item that had that tag assigned to it will automatically have it removed. When you delete a tag this action cannot be undone. The tag will be removed from all items that it was previously assigned to.
To understand how tags translate to eCommerce such as WooCommerce and Shopify, see their respective articles.
Tags within Item Creation #
Adding a Tag #
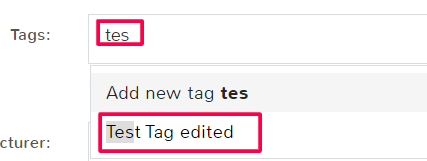
When creating or editing an item you have the option to add tags on the Item Info tab. To add a tag, start typing in the Tags field. A dropdown with all available tags will pop up. Select the tag that you want to be applied.
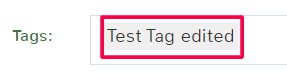
The tag will then fill with a light grey box behind it.
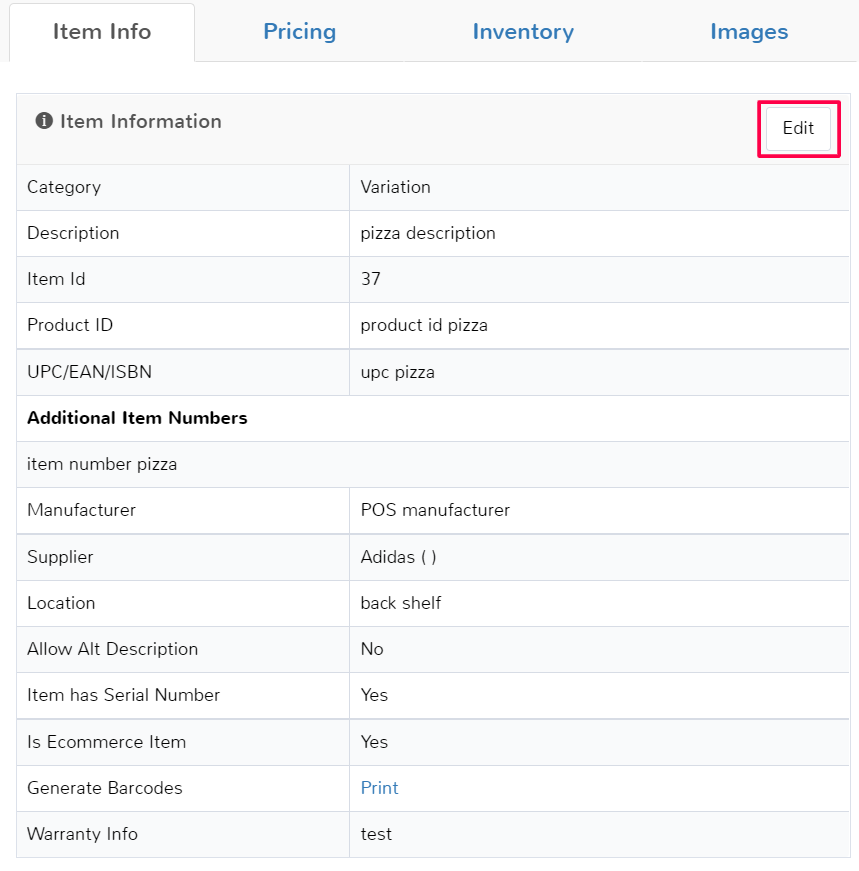
Tags will not appear in the quick view of items that have already been created, you have to click Edit in order to see and manage tags.
Using Multiple Tags #
If you need more than one tag for an item, you can easily add them. Go to the Tags field in the Item Info tab and click in the white space of the field.
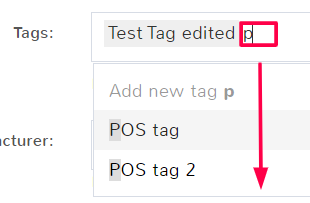
Start typing the tag you want to add, and when it appears in the dropdown select it. You can add as many tags as desired.
Creating New Tags within an Item Page #
If you realize you haven’t created a tag that you want to use, you can create it within the Item page. On the Item Info tab, next to the Tags field click the link to Manage tags.
You will be brought to the Tags page where you can add, delete and edit tags.
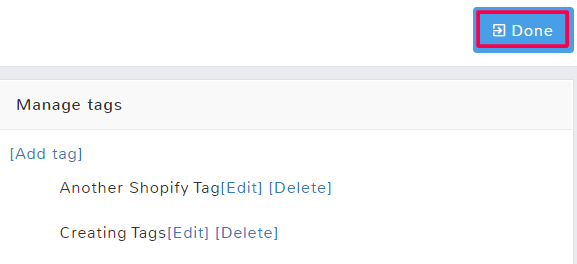
When you are finished, select Done to return to the Item Page.


