Introduction #
KPOS allows you to have multiple locations for your store. Each store location can be managed from a single login but requires a separate license for each site.
If you only have one store location, then by default all items, inventory, and sales will be tied to that location. When you create multiple locations, your options on almost all the other features in the software will change. Things such as inventory, taxes, and deliveries will need the location specified.
Locations can be managed in the left menu:

Add a Location #
To create a new location, navigate to the Locations main feature page.

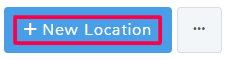
Once the page opens, click the + New Location button in the top right.
This opens the Location Information page where you can fill out all the location details. Any field in red is a required field.
Name
This is the name linked to your site location. Make the name memorable and intuitive so that you can remember which location is tied to it.
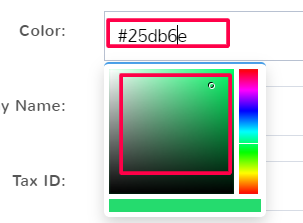
Color
When there are multiple locations a user can log into, it may be helpful to have a visual reminder of which location they have chosen. Click the field to select a color for the location.
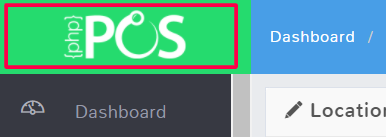
The color selected will display in the top left of the screen behind the KPOS logo so that a user can easily see which location they are logged into.
Company Name
Enter the name of the company in charge of the location.
Tax ID
Enter the tax ID associated with that location
Company Logo
If you have a logo for your company that you want to show up on receipts, you can upload one here for the location. Click Choose File and select an image from your device.
Delete Logo
If you uploaded the wrong file for your logo, check the box and click Save to delete the uploaded file.
Website
Enter the website for the store’s location.
Address
Enter the address of the location.
Phone
Enter the phone number for the store location.
Fax
If applicable, enter the location’s fax number.
Email
Enter the email that you want notifications and information from the location to go to.
CC Email
If there is another email that should be copied on all notifications from the store location, enter it here.
BCC Email
If there is another email that should be blind copied on all notifications from the store location, enter it here.
E-Mail All Sales to E-Mail
Enter the email you wish to receive sale alerts on.
E-Mail all Receivings to E-Mail
Enter the email you wish to receive notifications on.
Return Policy
Enter the return policy for your store location here. This information can be printed on receipts.
Employees
In order for an employee to sign into a store location, they must first be assigned to that location. Click in the field and start to type an employee name, matching employees will appear in the dropdown to select. You can select multiple employees for every location and employees can be assigned to more than one location.
Registers
Registers are used for cash tracking, credit card processing, and knowing what registers sales have been completed on. For more information on registers and setting them up, see the documentation here.
Enable Credit Card Processing
See documentation here on enabling credit card processing.
Disable Markup/Markdown
In Store Config there are options to create markups and markdowns based on payment types – if you do not want these options to apply to a location then click the checkbox for this feature. For more information about markups and markdowns see the documentation on store config here.
Auto E-Mail Reports Address
Enter the address you want to receive auto reports.
Auto E-Mail Reports Time
Click the dropdown to select what time your close-out reports will be emailed to you every day.
Day to Email Report For
Click the dropdown to select whether you want the closeout report to be sent for the current day’s information or if reports should go out containing data from the previous business day.
Receive Stock Alerts
If you would like to receive email notifications for low inventory, enable stock alerts. These alerts only work when the inventory changes as a result of a sale. For example, if the last of an item is sold to a customer, the stock alert will go out, but if an employee manually adjusts the inventory to 0 for an item, no alert will be triggered. Once you have two new fields will appear:
Stock Alert Email – Enter the email that stock alerts should be sent to
Alert Only For Items With Re-Order Level – This means that you only want to receive alerts for items that have a reorder level set, and that have an inventory that has hit the reorder level. This means you will not get any alerts for 0 inventory items that were never given a reorder point.
Time Zone
Click the dropdown to see all the available time zones. The time zone you select will set the time for all receipts and reports generated in the system for the location.
Mailchimp API Key
Enter your mailchimp API key. For information about how to get an API key see Mailchimp’s documentation here.
Platform.Ly API Key
Enter your Platform.Ly API key. For information about how to get an API key see the documentation here.
Twilio Information
Enter your Twilio information in the fields. For more information about SID, Tokens and how Twilio SMS works, visit their documentation here.
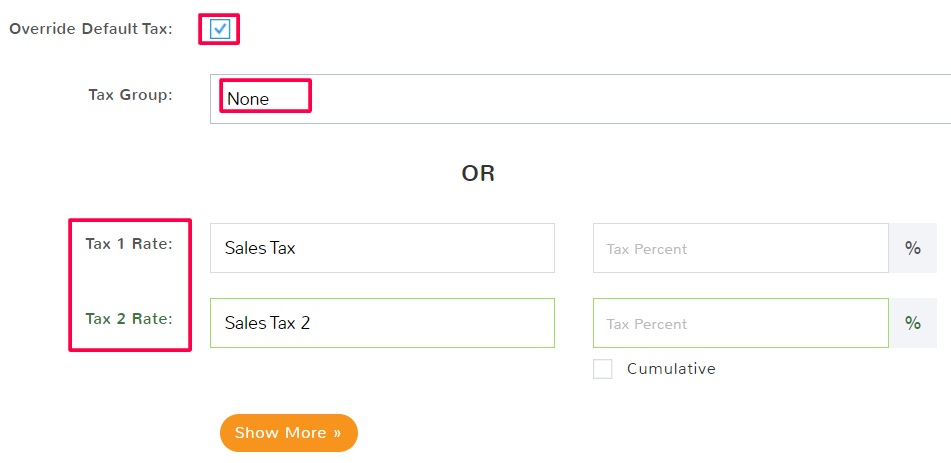
Override Default Tax
Taxes are set up in Site Config, however, you can override them for individual locations by enabling this option.
Once you enable the default tax override, new fields will appear for you to select for your location. This means that the tax settings you created in Site Config will be ignored for sales completed at this location in place of the custom ones you apply.
You can either select an existing Tax Group from the top dropdown or create a custom tax rate and percent for the location. Tax Groups can be created in Site Config.
Edit a Location #
To edit location information and settings, navigate to the Locations main feature page.

Once the page opens, locate the location you need to edit the information for and select Edit.
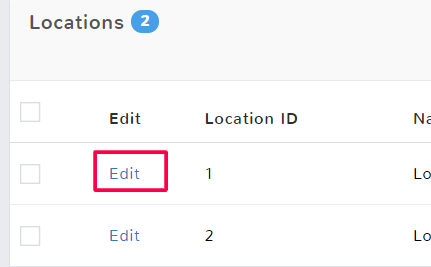
This opens the Location Information page where you can edit any of the location details. A breakdown of the information fields can be found in the section Add a Location.
Select Save in the bottom right in order to keep the changes made.
Delete a Location #
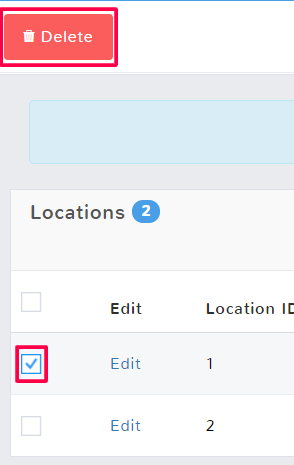
To delete a location, navigate to the Locations main feature page.

Once the page opens, identify the location you want to delete and click the checkbox to select the row. You can select multiple rows if you want to delete more than one location at a time, though it is not recommended. Above the locations list, there will be an option to Delete the location.
A popup will confirm that you want to delete the selected location.
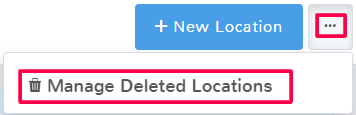
If you delete a location by accident, click the ellipsis (…) in the top of the locations feature page and select Manage Deleted Locations.
This opens the Deleted Locations. All locations that have been deleted will appear in the page list. To recover a deleted location, click the checkbox next to a location and select Undelete in the menu option above the list.
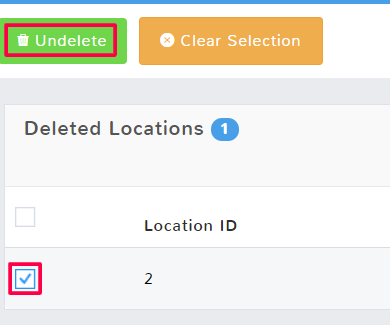
To return to the normal location page when finished, select Done in the top right.


